Achieving success with any diet, especially a low-carb and keto can come down to how organised you are with meal planning and prepping for the week. We try to provide you with as many tips and hint for success as possible, and aim to avoid having to spend hours in the kitchen cooking every day. Who has the time for that these days?
Instead the goal is to meal prep or batch cook your recipes, ideally in serves of 4 or 8 depending on how well the meal can freeze for future meals.
You can keep on track, stay in ketosis and save time in the day by following some of these easy meal prep ideas, tips and recipes.
What Is Meal Prep?
Meal prep is exactly what it sounds like, preparing most, if not all of your meals in advance for the week ahead, saving both time and energy. Being organised with meals is ideal for those who have busy lives with work and family.
There are a few different ways to meal prep. We suggest choosing the one that best suits your lifestyle.
Batch cooking:
Prepare recipes that would normally feed 4-8 people (depending on how many days you’re prepping for), measured out the meals into single portions, then refrigerate or freeze the meals. The meal portions can be defrosted and heated to eat throughout the week.
This can be ideal if you are also cooking for a large family, as you can cook in double batches and freeze leftovers for the rest of the week for yourself.
Ingredient Prep:
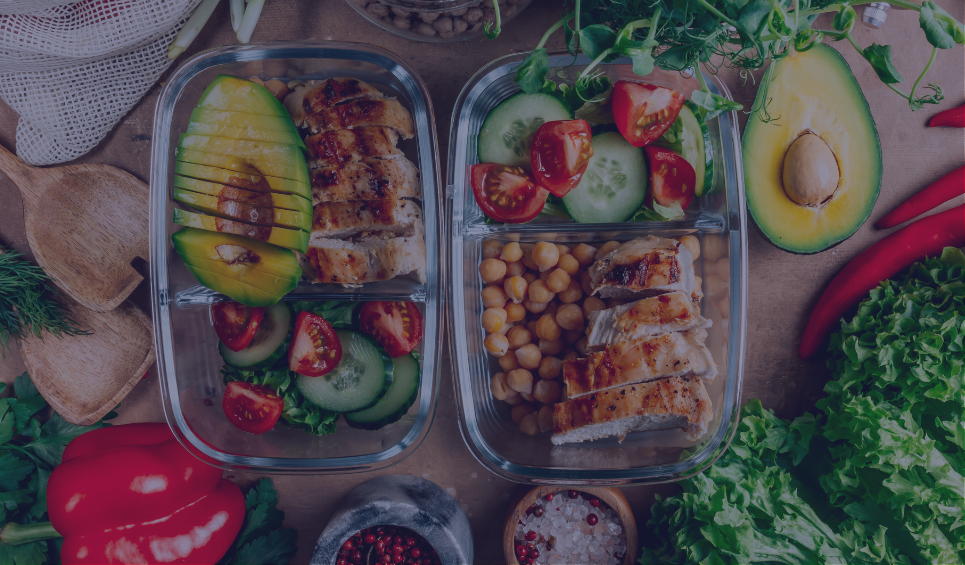
Ideal for those who prefer salads for lunch, or want to prepare and serve a fresh meal. Weigh, chop and store all your keto ingredients in sealed containers at the start of the week, prepped and ready to use when making your meals.
If you enjoy a little low-carb snack in between meals this is also ideal for prepping keto-friendly snacks:
- fruits
- nuts
- seeds
- vegetable sticks
- cheese
- deli meats
Quick and easy snacks you can grab from the fridge all ready to go!
Meal For One:
Lots of recipes in the Ultra Lite Program are 1 serve meals which is still great for meal prepping! You can pre-cook your lunches and dinners at the start of the week and refrigerate or freeze each individual meal, ready to eat throughout the week.
This is ideal for those who like to switch up there meals each day!
What Will You Need?
- Glasslock glass storage containers – durable, freezer, microwave and dishwasher friendly, plastic-free and are great for pre-cooked meals.
- Compartment bento box containers x3 – great for ingredient prep, keto-friendly snacks, keeping ingredients fresh and measuring out portions.
- Reusable silicone food storage bags – airtight, reusable, and fantastic for pre-weighing, measuring and storing meat, vegetables and fruits for a range of keto recipes.
Meal Prepping Steps
Step 1: Make a Meal Plan
Ideally this is best to start on a Saturday or Sunday for the week ahead. Meal planning should only take 20-30mins, especially if you use our online Keto meal plans and recipe planner tool as part of our UL+ membership (the first month is free).
Step 2: Shop with your Shopping List
You can either write up your shopping list from scratch working out what ingredients you already have and what you need to buy from the meal plan you’ve created.
Our meal planner tool will be able to calculate this for you and all you to manually edit your amounts needed from the store.
Meal prepping is a great way to buy in bulk and avoid food waste, especially if you are cooking for one, as you can use up all your vegetables and protein in the batch meals, instead of only using small amounts of each ingredient. Who doesn’t love to save on money and prevent food waste?
Step 3: Create a Checklist and Start Prepping
Prepare for prep the best way by writing yourself a checklist first, this can help you to stay on track and be more time efficient.
Prioritize prep according to the day of the week, which meals take longer to cook, and the ingredients you need for each.
Start with weighing and bagging up proteins for each of the meals, marinating those that need it first. Then start on vegetables, washing, chopping and weighing each of them, then either store them in the fridge/freezer for later meals, or cook them in your batch meals.
A great start is to batch prep all your keto-friendly side dishes for the week:
- zucchini zoodles
- cauliflower rice
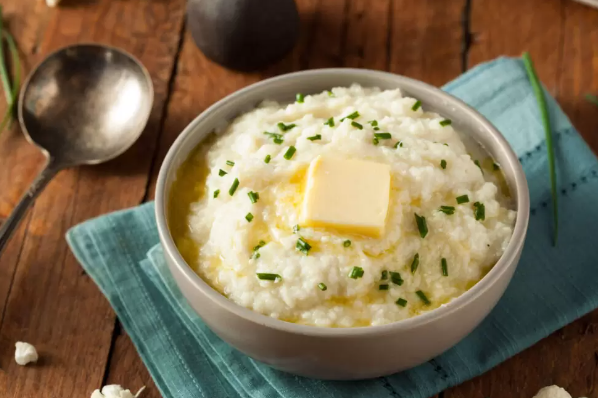
- cauliflower mash
- shredded cabbage
We recommend weighing and either freezing raw or cooked, so they be heated up on the day for easy use.
Example Meal Prep Menu
Storing Ingredients
Fridge
Ideally you want to avoid freezing dishes with lots of heavy cream, melted cheese, or cream-based soups and casseroles as these do not freeze well.
Also uncooked vegetables with high water content can become mush with thawed, so tomato, cucumber and salads are best stored in the fridge.
Ideally you want to store any cooked meals in the fridge for 3-4 days max, and freeze what you can for use later in the week.
Freezer
The goal with freezing foods and avoiding freezer burn is selecting containers that are air-tight and leave little room for air pockets, silicone can be ideal, and even purchasing a vacuum sealer might be a good investment, especially for buying meat in bulk for freezing in pre-weighed portions.
If using glass jars or containers, make sure you leave a little room for expanding in the freezer, ideally wide-mouthed jars work best for this as they are less likely to break from the pressure.
You can freeze meals like cooked stews, soups, meats and egg-based dishes (not cream based) for 2-3 months and if stored correctly, they will still be tasty and will not succumb to the dreaded freezer burn!
Some freezer friendly low-carb and keto prep ingredients are:
- cooked and marinated meats such as minced beer, chicken and bacon (great for tacos, buddha bowls, or toppings on salads
- chopped vegetables, fresh or blanched (onion, green beans, carrots, capsicum)
- chopped fresh herbs
- sauces (non-cream based)
- bone broths and soups
Having these ready will cut down prep time immensely, and help prepare you for success while eating Keto.
Thawing
There are many ways to thaw foods, such as refrigerator thawing, microwave thawing or luke-warm water thawing.
For refrigerator, you have to be organised, as this can take around 24 hours, so best to do the day before.
Microwave is a lot quicker, set to defrost setting, however food must be cooked as soon as it is defrosted.
And for water thawing, this is best for properly sealed foods, as you need to ensure no water leaks into the frozen food, and the water is replaced every 30mins until completely thawed.
Written by Caitlin McLean | Ultra Lite in-house Naturopath

